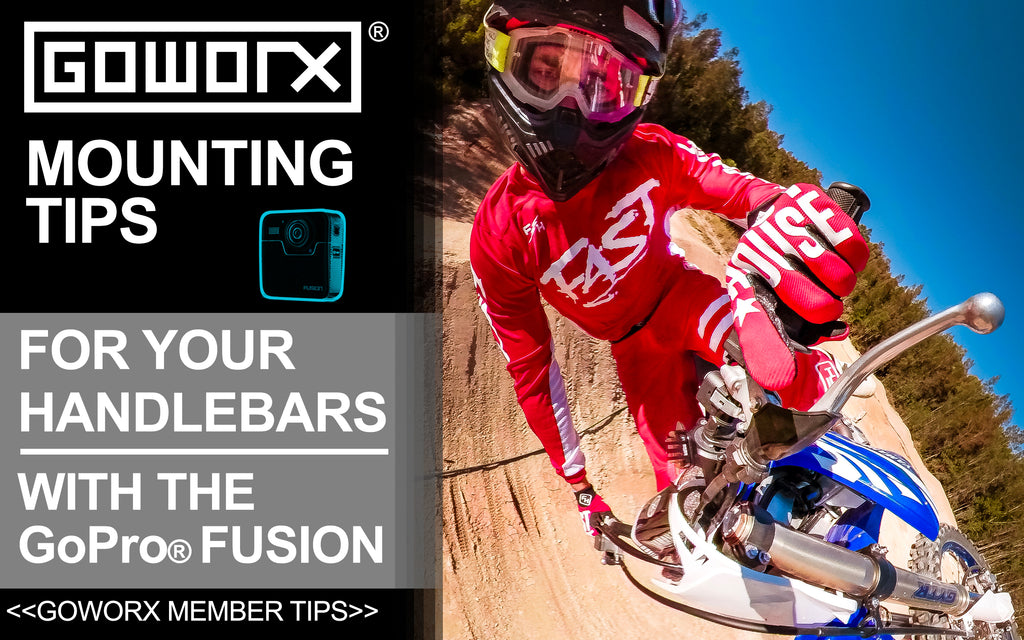
GoPro Fusion - Mounting Tips for Handlebars
A quick-start guide for mounting your GoPro Fusion camera to get a unique shot!
By GoWorx Contributor Aaron Sullivan.
Have an idea for a news story, photo series or gear guide? Let us know in the comments below or on social media.
360-Degree Videos Dominate!
360-degree video is becoming increasingly more popular. In the days of virtual reality and first-person POV videos, people love being immersed in the action! Ever since GoPro came out with their version of the 360-degree camera, the Fusion, it has been gaining popularity. With the GoPro Fusion camera you actually have 2 cameras, each with 180 degree fields of view, mounted back-to-back on the device. The camera automatically stitches the two videos together creating 360 degree, unobstructed views.
The abilities of these cameras are exciting yet some people are still unsure how to best utilize them. In this blog post, I'll give you my tips on how to mount the Fusion to get unique shots on any vehicle with handlebars.
My Setup:
- GoPro Fusion
- GoPro Handle Bar Mount with Quick Release Clip
- A cheaper option you can use the OCAM ZipMount.
- Aluminum Extension Mount
- GoPro Thumb screws
- Tip: use a screwdriver to tighten thumbs crews extra tight

1. Mounting.
Mount the GoPro Handlebar mount or (OCAM ZipMount) to the handlebars. I like to mount mine slightly off-center on the handlebars. I especially like to when I'm hitting the jumps on my dirt bike. This allows me to capture my upper body, bike, and views of the ground below me. It will really put your action into perspective!

2. Attach the Extension.
Attach the Fusion aluminum extension to the mount with the thumbscrews. Mount the bar leaning forward about 45 degrees. It looks strange but remember, these cameras capture everything! Also note, you can adjust the angle on this thumbscrew later - if desired.

3. Attach the Fusion.
Attach the Fusion camera to the extension mount. Keep the body of the Fusion camera aligned with the extension bar. This will ensure the extension pole completely disappears when the videos are stitched together. This is essential in achieving this unique type of shot! Tip: use the screwdriver to tighten the screws a little tighter to ensure the angle won't change during your ride. Just make sure you don't overtighten!

That's it, you're set!
Now go out and capture those perfect shots. Here are a couple photos I've taken with this setup. You can see more on my Instagram page @Azzaj!


